
Nah! I'm just kidding!
Even if you already have a shop I hope you'll continue reading... maybe you'll learn something you didn't already know!
Part I - Choosing
Your Shop Name
At this point you should already have your desired shop name in mind. Here is a useful article on the Etsy blog about
choosing shop names: {TopTips for Choosing Your Shop Name}.
Some things that I
recommend when choosing a name are:
- Check to see that someone else isn't already using the name. I used {GoDaddy} to check for my name, Little Vintage Cottage, and I also purchased the domain there. It was only $11 for 2 years. There are many other domain services out there though, GoDaddy was just my choice.
- Don’t make your shop name too long or complicated or too much like someone else's. You want it to be easy to remember and not easily confused with another.
- Don't use uncommon spellings; those are hard to remember too. I have seen shop names with words in them that are spelled wrong just for the sake of cleverness and it's so hard to find them again because I can't remember how they spelled it!
- Don't limit yourself too much with your shop name. It is very likely that you'll change directions with your shop or want to add new and/or different products at some point. I have done it a couple of times myself.
For example if you name your shop Jewelry by Janice and later you decide
to make clothes instead then you'll have to change your shop name. Etsy only
allows you to change your shop name one time without questioning you. After
that if you want to change the name you'll need to give justification.
You can check on Etsy {here} to see if the name you are thinking of using is already taken or if there are similar shop names on Etsy.
You can check on Etsy {here} to see if the name you are thinking of using is already taken or if there are similar shop names on Etsy.

Once you have your shop name all picked out you're
ready to create your new shop.
Part II - Opening
a Brand New Etsy Shop
It's easy-peasy to open a shop on Etsy. Just click on the image below and it will take you to a page to start your shop and you and I will both receive 40 free listings!
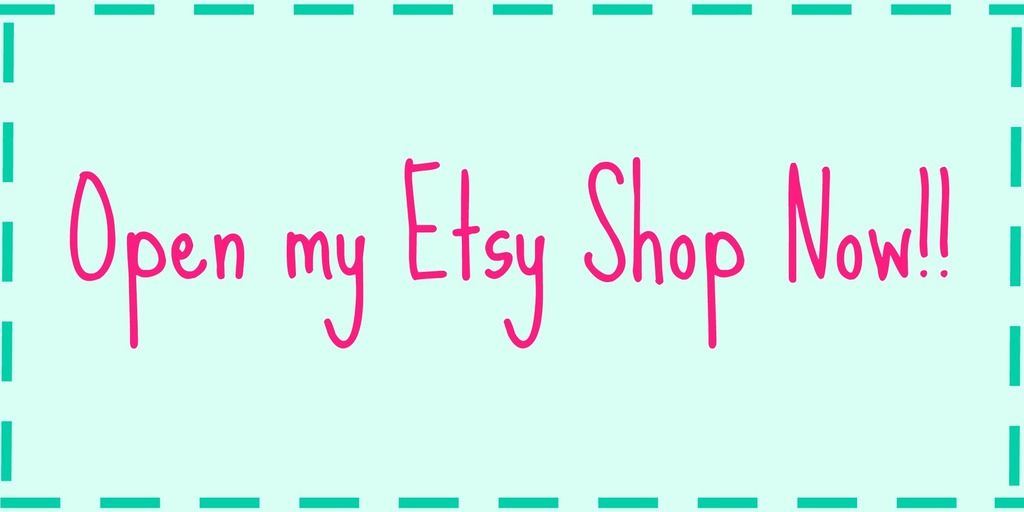

It says "Tania wants you to open your very own
shop on Etsy" and that's true! I really do want you to open a shop because
I really think you'll love it! So let's get started!
Click on that "Open My Etsy Shop" button
and it will ask you to register if you don't have an Etsy account already, or
sign in if you already have an Etsy account. (Note: If you have ever purchased something on Etsy then you'll already have an account).
If you aren't taken directly to shop set up click on "Your Shop" in the upper right hand corner.

If you aren't taken directly to shop set up click on "Your Shop" in the upper right hand corner.

Choose your language, currency, and shop country. Make
sure you choose the correct language and country because you can't change that
later! You will be able enroll in other languages and change your currency
after you open up shop.
You'll see a screen now that says "What do you hope to accomplish?" Choose whichever one is applicable to you.

You'll see a screen now that says "What do you hope to accomplish?" Choose whichever one is applicable to you.

Next follow these prompts and you'll be ready to
open.

Listing
an Item
You will be asked to choose your shop name and list
your first items.
Photos - You
get to add five photos of your product. I'll go into photos more in a separate post but you should use ALL FIVE SLOTS. Show your item up close, further away,
front, side, and back views. On a model or prop, open, closed, on or
off…whatever options you have, try to show them all. Remember, your customer
cannot pick up and touch this item so you want to show them everything they
would see if they were able to actually touch it.
Listing Details -
Items with the little blue asterisk are required fields.

Listing Details -
Items with the little blue asterisk are required fields.

Item
Title - What
is it that you are listing? Again, we'll get into this more in a different post but you should use descriptive titles here and put yourself in the
buyer's shoes; if you were searching for your item, how would you search for
it? Purple Amethyst Necklace is much
better than just necklace.
About
this Listing - "Select
a Maker". This is asking the question, who made this item? If it is a
handmade item choose "I did" or "a member of my shop" if you work with a third party. If
it is a vintage item choose "Another company or person".

Next, "What is it?". What is this item
used for? The choices are "A finished product" or "A supply or
tool to make things".

And finally,
"When was it made?"

Categories - The
categories are pretty self-explanatory. Sometimes you'll have to
hunt around for a little bit to find the best categories for your item.
For every category you choose another subcategory box will pop
up to narrow down your item even further. For example, if your first category you choose is "Jewelry" then the next box will have jewelry related choices such as "body jewelry, bracelets, necklaces, etc.". If you then choose "necklaces" then the next box will be narrowed down even further, "beaded, chokers, lockets, etc.".
Keep filling these out until you
reach the end or the choices available are not valid, then you can leave the
selection as "none".
Price - Obviously
you'll put the price of your item here. When determining the price take into
consideration the fees you will be charged to list it and when it sells {see fees in this post} as well
as time you spent making it if it's handmade, or time you spent cleaning or
fixing it if it's vintage, photography time, listing time, etc.
Pricing is a tricky thing and a lot of it is just trial and error. Here is a helpful article on pricing on Etsy: {Are You Paying Yourself Enough?}
Tax - Your shop needs to be open before you can set up your tax section. After you officially open you'll add your tax rate if applicable and go back to apply it to your item listings.
If you need to charge tax, you can specify a tax rate for each US state (by state, zip code, or range of zip codes), Canadian province, or country outside the US and Canada.
Here is a very helpful article {How to Determine Your Sales Tax} in the Etsy Seller Handbook to help you determine if you need to charge sales tax.
Quantity - If you have more than one, put how many you have available here. Customers can purchase 1 or more and the quantity will decrease as they sell. You are still charged .20 cents for each one just as if they were listed separately.
Renewal Options - Here you can choose if you'd like to manually renew the item when it expires or if you'd like it to automatically renew.

Type - Is it a physical item or a digital item?
If you choose "digital" another section will open below the item description where you'll upload your digital item. I do not sell digital items so I cannot comment much more on this aspect of selling.
If you choose "digital" another section will open below the item description where you'll upload your digital item. I do not sell digital items so I cannot comment much more on this aspect of selling.
Description - Include
details about your item, how it's made, possible uses, measurements, etc. Try
not to get too lengthy with this section. Online shoppers are an impatient
bunch and they are not going read everything you write, in fact if they see too
much they may be immediately overwhelmed and just move on.
Trust me when I say
this: no matter how much detail you go into, you are going to get questions
from people for something that you already covered in your description! As an
example, I usually put the measurements of my item right in the first line of
my descriptions yet that is one of the most common questions for my shop… "How big is
this item?"
I will go into more detail about what you should include in your item description in another post.
Variations – Here
you can add variations for your buyer to choose from. For example if you make
coin purses in blue, yellow, and pink you can give your buyers those choices
here instead of listing each one individually. If your item is one of a kind just skip over this section.
Shipping - This
is where you put how much it's going to cost the buyer to get the item in their
hot little hands! I will show you how to set up shipping profiles and calculated shipping soon. You should definitely
use either shipping profiles or calculated shipping, they will make your life so much easier when listing and
when the postal service raises their rates!
For these first few listings figure out how much it's going to cost you to ship your item. If you haven't purchased a shipping scale yet, check out this post {Etsy Shopping List - What You Need Before You Open Your Etsy Shop}
For these first few listings figure out how much it's going to cost you to ship your item. If you haven't purchased a shipping scale yet, check out this post {Etsy Shopping List - What You Need Before You Open Your Etsy Shop}
Search Terms - tags, materials, occasion, style, and recipient are how shoppers will find your items. Let's go over them.
Tags - Tags
are super important… let me say that again... tags are SUPER important! I will help you figure out some awesome
tags but for now include color, method or technique used to make it (hand
painted, crochet, etc.), synonyms for your item. Everyone searches differently
and calls things by different names (think hot pad, trivet, oven mitt, pot
holder).
You get to add 13 tags and each one has a 20 character limit. Enter them consecutively, separated with a comma or type each one and press the enter key after each tag.
You get to add 13 tags and each one has a 20 character limit. Enter them consecutively, separated with a comma or type each one and press the enter key after each tag.
Materials - If
your item is handmade list the materials you used to make it here.
Now click on "Preview Listing". Once you are happy with how your listing looks and
reads click "Save and Continue".
You'll be taken back to the screen to start another listing. Try a couple more just so you'll get the hang of this. Don't worry, they won't be visible to the public until after your open you shop.
Once you have added a few listings click "Continue".
You'll be taken back to the screen to start another listing. Try a couple more just so you'll get the hang of this. Don't worry, they won't be visible to the public until after your open you shop.
Once you have added a few listings click "Continue".
Selecting
Payment Methods
Next you'll want to "get paid". This
section determines how your customer will pay you for the item they want to
purchase.
Select your country and then enter your bank account and personal information. Don't worry about entering personal information... see that little 's' at the end of 'http' and the little lock? That means this is a secure site, no one else can see your information.

Click on "Save".
Enter your credit card information for paying your Etsy bill. (NOTE: You can use a credit or debit card. I have a separate bank account set up for my business and I use my debit card for that account. This way my bill is deducted from that account).
Click on "Open Shop"

Click on "Save".
Enter your credit card information for paying your Etsy bill. (NOTE: You can use a credit or debit card. I have a separate bank account set up for my business and I use my debit card for that account. This way my bill is deducted from that account).
Click on "Open Shop"
Congratulations you
are now an Etsy shop owner!

Stay tuned, in the next posts we'll get into the real nuts and bolts of your new Etsy shop! I'll show you how to create an About page, amp up your profile page, create your shop policies, add sections to your shop, create shipping profiles, rearrange your items, and connect to social media.

Stay tuned, in the next posts we'll get into the real nuts and bolts of your new Etsy shop! I'll show you how to create an About page, amp up your profile page, create your shop policies, add sections to your shop, create shipping profiles, rearrange your items, and connect to social media.


Very thorough and well presented! If i didn't already have a shop, i'd know exactly what to do!
ReplyDeleteTania, can an Etsy shop owner reserve a name before the shop is officially opened?
ReplyDeleteHi Patricia. You can't really reserve a name but you can begin the "open shop" process and then you'll have your shop name and no one else will be able to take it. You can take your time with this process... you don't have to complete it all at once. For example I have a shop that I created as I was writing this blog post (just to make sure I was getting all the steps correct!) but there is nothing listed for sale in it. So, I have my shop name secured and I can take my sweet time without having to worry :o)
DeleteI hope that makes sense!
Tania
PS. When you're ready make sure to use the link in that post for 40 free listings! It will take you a long time to use up all those freebies!
DeleteTania